Haag Helps Repair Military Base in Iraq
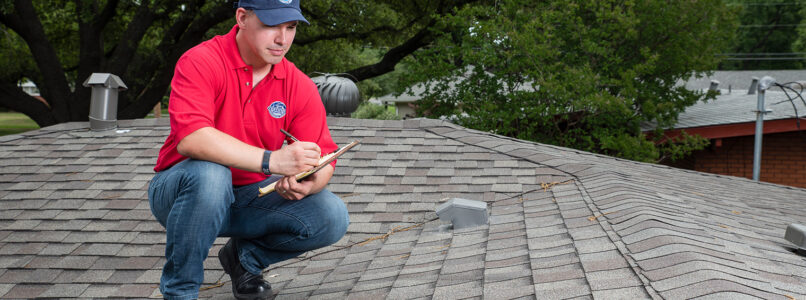
In early 2017, Dan Behrens, P.E., Haag Senior Engineer, (Minneapolis) traveled to Iraq and spent time living and working on an active military base while he worked to inspect an airplane hangar for damage at a US military base. In Dan’s own words, here is a brief summary of Dan’s trip and inspection in an active war zone:
I was initially asked to inspect a large hangar for some roofing and siding issues, possibly attributed to either wind, construction, foundation movement, or blast effects. It became obvious upon arrival that the issues included the main structural frame and secondary structural members, and that the primary cause of damage wasn’t wind-related.
The hangar in question was built on an Iraqi air force base for our (one time) friend and ally, Mr. Saddam Hussein, in the 1970s or ‘80s. In July 2003 however, Google Earth imagery shows two large holes in the roof, when the United States military was in the process of invading Iraq to depose our enemy, Mr. Saddam Hussein (times had changed). I noted that the repairs were of varying vintage, so it’s possible the hangar was damaged during the first Gulf War in 1991 as well.
Being an active war zone, my accommodations consisted of a private containerized housing unit with a bathroom with running water. I ate my meals at the same dining hall as the soldiers, airmen, and marines. It is protocol on base that service members carry weapons at all times. It was a bit unsettling to grab for the last cookie versus someone with an M4. (I let them win.) I lobbied for a weapon to carry just in case, but they said no. I was left with nothing but my steely gaze and razor wit for defense. Luckily, neither were needed.
All in all, the trip was a great experience; it was striking how young most of the service members were. To paraphrase Burke, it was humbling to see kids standing ready in the night to visit violence upon those who would harm us.
I have to say a big thanks to the team at Haag who supported me during this trip.
My thanks go out to the team who stayed home; this wouldn’t have been possible without their help. Most especially my wife, Kim, who stayed home with our three-month-old twins – I was happy to find that my house key still worked when I got home. In addition, Tami Fugle, John Ortenblad, Richard Herzog, and Rob Danielson in MN and Jeremy VanLeeuwen in KC all covered inspections for me or otherwise cleaned up my messes. Thanks also to Patrick and Rob at Haag Technical Services for their help on drafting for the final report.
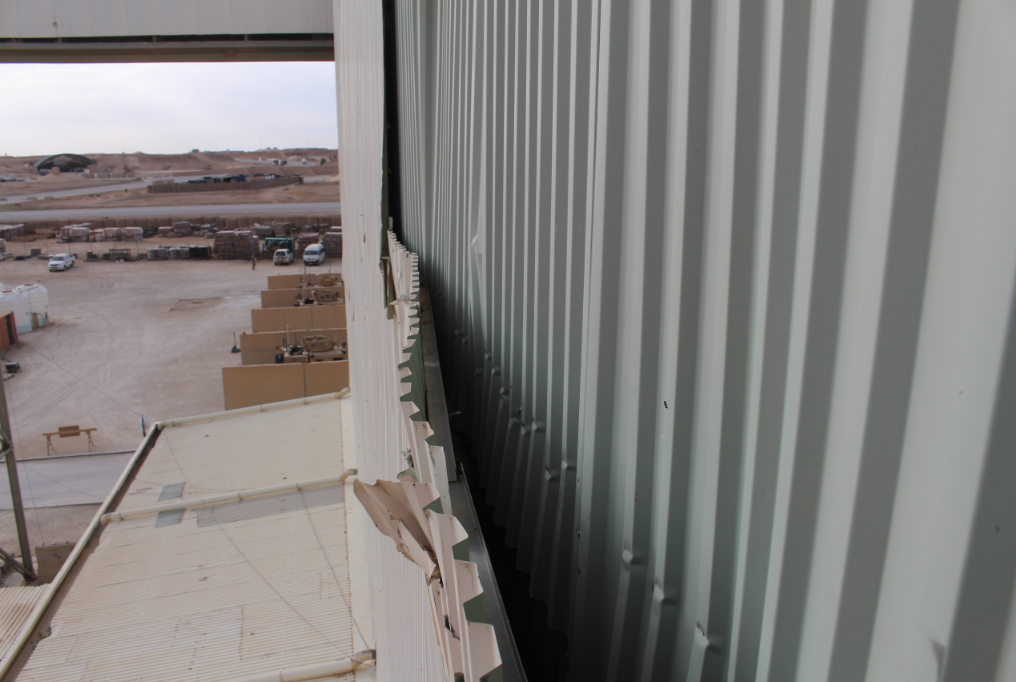
I’ve attached a few photos. The military was very much down on photographing anything operational, so no pics of the vehicles, drones, or artillery batteries.
The image below shows the hangar siding condition, with the American side in the background.
Daniel B. Behrens, P.E.

Daniel Behrens graudated from the University of Minnesota with a Bachelor of Civil Engineering. He is a Senior Engineer at Haag Engineering Co. in Burnsville, Minnesota, and is licensed as a Professional Civil Engineer in 13 states. Mr. Behrens is currently a member of the American Society of Civil Engineers and the American Institute of Steel Construction. Mr. Behrens has been with Haag Engineering since 2009, and has inspected and assessed damage to hundreds of roof structures. His primary areas of consulting are structural evaluations, roofing systems, general civil engineering evaluations, moisture source evaluations, and building envelope evaluations. Mr. Behrens helps develop and present continuing education seminars as an instructor at Haag.